Recommended Blog Posts
- Canadian Experience Class CRS Score Trends 2025-26: What’s a Good Score?
- Latest Canadian Experience Class Draw 2026: CRS Score, ITAs And CEC Updates
- CEC vs Federal Skilled Worker Program: Which Express Entry Path Should You Take For 2026?
- Top Jobs That Qualify for Canadian Experience Class (CEC) PR in 2026
- 2026 CEC Draw Predictions: Expert Insights on IRCC’s Immigration Levels Plan
Step-by-Step Guide: How to Apply for Canada PR Through the Canadian Experience Class (CEC) in 2026
Publish On: November 29, 2025
Alright, let’s get real for a second. Applying for PR in Canada? Yeah, it can feel like juggling while walking on a tightrope. You’ve worked here — maybe for a year or two — and now you’re thinking, “Okay, I want this permanent.” Makes sense. But the process? Oh boy… it can be confusing, messy, and honestly, a little stressful if you’re not careful.
That’s where the Canadian Experience Class (CEC) comes in. For folks with Canadian work experience, it’s one of the fastest ways to get Canada PR in 2026. But here’s the thing — small mistakes can derail months of effort. I’ve seen it happen more times than I can count. So, let’s go through it, step by step, in plain English… like I’d explain it to a friend over coffee.
Step 1: Are You Eligible? Don’t Skip This Step
Before anything, ask yourself: Do I really meet the criteria? Skipping even one small box can mess up your timeline big time.
Work Experience — The Core Requirement
CEC requires at least 12 months of full-time skilled work experience in Canada in the last three years. Part-time is okay too — but you need 1,560 total hours. Your role must fall under NOC TEER 0, 1, 2, or 3 — basically managerial, professional, or technical/trade jobs.
I remember one client who assumed part-time café work counted. Nope. Another one did freelance consulting without proper authorization. Also nope. It’s surprisingly easy to miscalculate. Rule of thumb: double-check, and if in doubt, ask an expert.
Language Skills — Don’t Ignore This
You’ll need a language test in English or French — IELTS, CELPIP, or TEF. Here’s the minimum:
- TEER 0 or 1: CLB 7
- TEER 2 or 3: CLB 5
Honestly, even a small bump in your score can give a serious CRS boost. Don’t just wing it — a bit of prep pays off.
Other Essentials
- You must plan to live outside Quebec (Quebec has its own PR rules).
- Meet medical and criminal admissibility requirements.
- Education isn’t mandatory, but an ECA for your degree can increase CRS points.
If all that checks out — good! You’re eligible. Next comes the part where people usually stumble: creating your Express Entry profile.
Step 2: Creating Your Express Entry Profile — Think of It Like Your PR Resume
This is your digital PR resume. It tells IRCC who you are, what you’ve done, and why you belong here.
Here’s the tip: don’t start filling it without preparing your documents. Seriously. You’ll save yourself a ton of headaches later.
- Passport/travel document
- Language test results
- Education credentials + ECA if applicable
- Reference letters from Canadian employers
- Birth or marriage certificates
I’ve seen clients start profiles without documents ready — they end up pausing halfway through, forgetting details, and stressing out. Avoid that.
Filling Out the Profile
Go to IRCC Express Entry. Enter your personal info, work experience, education, and language scores.
Job offer? Optional for CEC, but if you have one, include it. Double-check everything. One typo, one wrong date, and you’ll be chasing it later — trust me, it happens a lot.
CRS Score — Your Ranking in the Pool
Once submitted, IRCC calculates your CRS score. Higher = better chance at an Invitation to Apply (ITA).
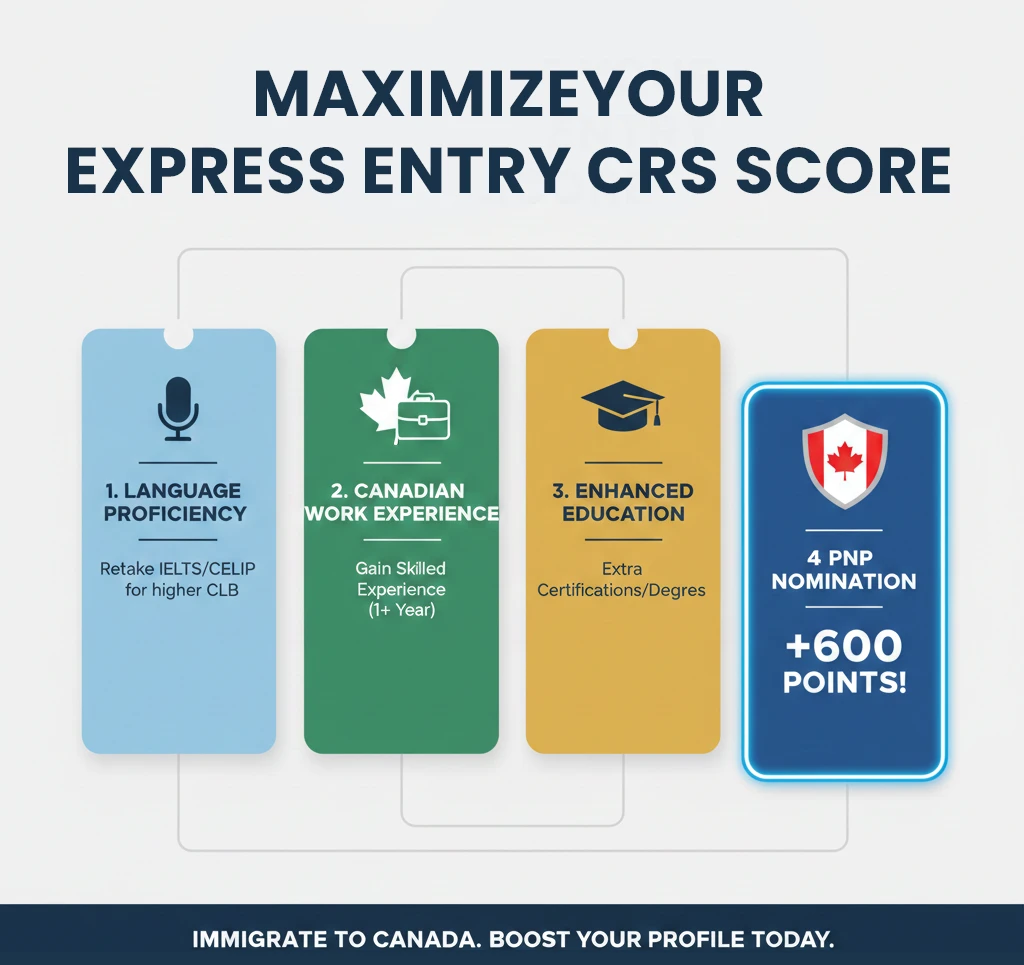
Not happy with your score? Don’t panic. You can:
- Retake a language test
- Add Canadian work experience
- Complete extra certifications
- Get a PNP nomination (+600 points!)
Treat your profile like a living document. Update it when your situation changes. It’s easy to forget this, but trust me — it matters.
Step 3: Prep Your Documents Before ITA — Seriously
Here’s the thing: start collecting documents before your ITA. You only have 60 days once invited, and time flies.
Essential Documents
- Passport — check expiry
- Language test results
- Reference letters — include duties, hours, salary, dates
- ECA report — if you claimed education
- Police certificates — from all countries lived in 6+ months
- Medical exam — IRCC-approved physician
- Civil documents — birth/marriage certificates (translate if needed)
Tip: treat this like packing for a big trip — everything ready in one folder. Makes submission way smoother.
Step 4: After Receiving the ITA — Action Time
Finally, the golden email: “You’ve received an Invitation to Apply!” Pause. Breathe. Celebrate. Then get serious — 60 days to submit everything.
Submitting Your PR Application
- Log in to IRCC
- Complete PR forms
- Upload all supporting documents
- Pay fees (processing + biometrics + PR right fee)
- Submit within 60 days
You’ll get an Acknowledgement of Receipt (AOR) — confirmation IRCC received your application.
Biometrics & Extra Requests
You’ll likely provide biometrics. Sometimes IRCC requests extra documents. Occasionally, there’s an interview — rare, but happens. Respond quickly. Delays? Totally avoidable.
Processing & Decision
CEC applications are fast. Most are processed within six months. Once approved, you’ll get your COPR and landing instructions. Canada PR card arrives shortly after. Welcome home!
Quick Tips to Boost Your Chances
- Update your profile with new jobs, certificates, or language scores
- Avoid mistakes — misrepresentation can get you banned
- Watch draw trends — CRS cutoffs fluctuate
- Have a backup plan — PNP or other Express Entry categories if CRS is borderline
Honestly, the details matter more than you think.
Wrapping It Up
Getting PR through CEC isn’t impossible. It takes preparation, patience, and staying organized. You’ve already done the hardest part — Canadian work experience. The rest? Paperwork, timing, and persistence.
Thousands succeed every year — you can too.